Sprites have become an essential element in modern digital design and development, offering a unique way to bring characters and objects to life through animation. Whether you’re working on a game, a web application, or a creative project, creating sprite animations can elevate your work with dynamic visuals and smooth transitions. In this comprehensive guide, we’ll explore everything you need to know about creating sprite animations, from the best tools to use to advanced techniques that will take your animations to the next level. Whether you’re a seasoned developer or just starting out, this article will provide you with actionable insights, step-by-step guides, and expert tips to help you master the art of sprite animation.
Key Takeaways
– Essential Tools for Sprite Creation: Discover top tools like Krita, Inkscape, Adobe Photoshop, GIMP, and ZBrush for creating high-quality sprites.
– Free Options for Sprite Animation: Explore free and open-source tools such as Krita and Inkscape for basic to intermediate sprite creation.
– Professional-grade Solutions: Upgrade your workflow with advanced tools like Adobe Photoshop and GIMP for detailed and optimized sprites.
– Batch Processing and Automation: Use TexturePacker and Shoebox for efficient sprite sheet creation and optimization.
– Experimentation and Iteration: Iterate on designs, use reference materials, and leverage tool documentation to enhance your sprite creation process.
– Considerations for Cost: Choose between free versions with limitations or paid options for advanced features in tools like Aseprite and Pix Square.
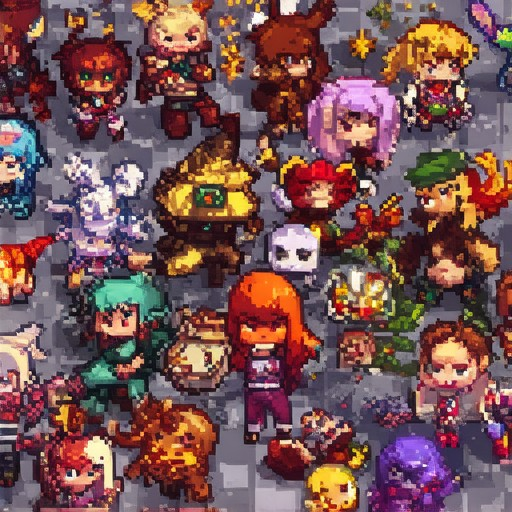
How to Make Sprite Animation
Sprites are a fundamental aspect of 2D gaming and visual media. To create a sprite animation, you need to combine multiple frames into a single image, known as a sprite sheet, and then animate them in your preferred software or game engine.
Step 1: Create Individual Frames
- Create each frame of your animation separately. Each frame should be slightly different to create the illusion of movement.
- Ensure all frames are consistent in size and resolution to maintain quality and alignment during animation.
Step 2: Assemble Frames into a Sprite Sheet
- Arrange your frames into a grid layout. The number of columns depends on your animation width, and the number of rows depends on your animation height.
- Use graphic editing software like GIMP or Adobe Photoshop to compile your frames into a single image.
- Save the resulting image as a PNG or JPEG file, ensuring transparency if needed for background effects.
Step 3: Import Sprite Sheet into Your Software
- If using Unity , import the sprite sheet as a texture and assign it as a sprite in your scene.
- For Unreal Engine , follow similar steps to import and assign the texture as a sprite node.
Step 4: Set Up Animation Parameters
- In your chosen software or game engine, create an animation component or layer.
- Set the animation to use the imported sprite sheet as the source material.
- Adjust the animation speed and frame rate to match your desired playback rate. Most animations run at 60 FPS, so aim for 60 frames per second.
Step 5: Test and Optimize
- Play back the animation to ensure smooth transitions between frames and check for any misalignment or flicker.
- Optimize the animation by removing unnecessary frames and compressing textures to reduce file sizes and improve performance.
- Consider using WebGL or PVRTC textures for better compression and efficiency.
Tips for Successful Sprite Animation
- Keep the number of frames manageable to balance animation speed and detail without overwhelming hardware resources.
- Use Indie Dev Games resources for additional tutorials and best practices.
- Experiment with different frame rates and animation durations to achieve the desired effect.
Can AI Create Animated Sprites?
Yes, AI can indeed create animated sprites, opening up new possibilities for game developers and designers. Tools like DreamLab and Runway ML leverage advanced AI models to generate lifelike characters and animations, enabling creative freedom without the need for extensive manual work.
DreamLab, powered by Deepgram, stands out for its ability to transform text descriptions into dynamic, animated sprites. By inputting a character concept, the AI automatically generates a fully realized model complete with movements and expressions. Similarly, Runway ML offers a suite of tools for creating pixel art and animations, allowing users to experiment with styles and effects.
These platforms utilize cutting-edge technologies like Stable Diffusion to produce high-quality visuals, making them accessible even to those without prior expertise in animation. Whether you’re working on a mobile game, indie project, or educational software, AI tools like these can streamline your workflow and elevate your visual designs.
Featured Tools:
- DreamLab : Specializes in generating animated sprites and 3D models using text prompts.
Explore DreamLab - Runway ML : Offers versatile tools for creating animations and pixel art.
Visit Runway ML
Comparison Table: Key Features
| Tool | Features |
|---|---|
| DreamLab | Advanced AI models, full-body animations, customizable styles |
| Runway ML | Pixel art generation, animation timeline editing, style transfer |
Both tools empower creators to bring their visions to life, offering flexibility in design and execution. Whether you prefer a more detailed approach or a streamlined interface, there’s a solution tailored to your needs. Start experimenting today and see the possibilities AI brings to your projects!
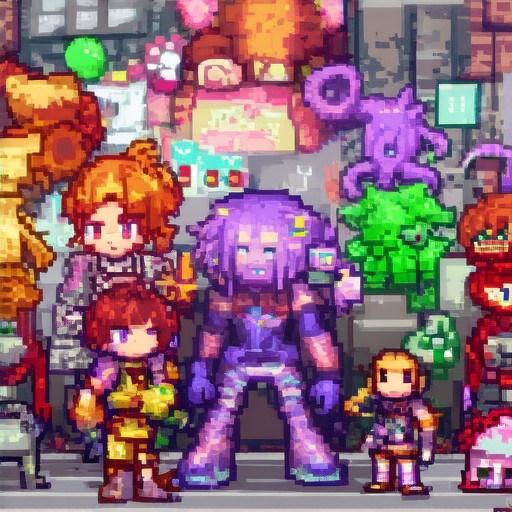
How to Create Your OwnSprites
To create your own sprites, follow these organized steps:
1. Choose Your Tools
- Image Editing Software: Use GIMP (free and open-source) or Adobe Photoshop (paid version) for editing and creating sprites.
- Sprite Creation Tools: Consider using Aseprite or Spriter for easier pixel art creation and animation.
2. Drawing and Preparation
- Drawing Tools: Find tutorials on platforms like YouTube or DeviantArt for basic drawing skills. Focus on simple shapes and characters.
- Canvas Setup: Decide on the size (e.g., 512×512 pixels) and create a new canvas in your chosen software.
- Import and Scale: Import your drawn artwork and adjust the size as needed for your project.
3. Sprite Optimization
- Pixel Art Basics: Use a limited color palette (16-32 colors) to reduce file size and improve load times.
- Transparency: Ensure your sprite has a transparent background if it will be part of a sprite sheet.
- File Format: Save your sprite as PNG for transparency or JPEG for smaller files, depending on your needs.
4. Animation (Optional)
- Frame-by-Frame Animation: Use tools like GIMP to create animated sequences. Export each frame separately for use in your game.
- Spritesheet Creation: Combine multiple sprites into a single image (sprite sheet) for efficient rendering in games.
5. Testing and Implementation
- Test in Game Engine: Incorporate your sprite into your game to check for performance issues and visual accuracy.
- Optimization Tips: Reduce sprite sizes and use texture compression if possible to enhance performance.
6. Sharing and Community
- Share Your Work: Upload your sprites to platforms like itch.io or DeviantArt to showcase your creations.
- Join Communities: Engage with forums and Discord groups dedicated to sprite creation for feedback and support.
Resources
- Software Links:
- GIMP – Free Image Editing Software
- Aseprite – Pixel Art and Animation Tool
- Tutorials and Guides:
- Drawing Basic Characters – Step-by-Step Tutorial
- DeviantArt – Community for Artists and Designers
By following these steps, you can create and optimize your own sprites, bringing your game ideas to life with unique visuals.
What App Should You Use to Make Sprites?
To create sprites, you have several options depending on your needs and skill level. Below are some of the most popular tools:
Free and Open-Source Options
- Krita – A free and open-source paint program ideal for creating pixel art and sprites. It supports various file formats and offers a user-friendly interface.
- Visit Krita
- Inkscape – A free vector graphics editor that can be used to create sprites, especially if you prefer a vector-based approach.
- Visit Inkscape
Professional Tools
- Adobe Photoshop – A powerful tool for creating high-quality sprites and transparent PNGs. It offers advanced editing features and non-destructive editing.
- Visit Adobe Photoshop
- GIMP – A free alternative to Photoshop with similar functionality, making it a great choice for creating sprites and transparent images.
- Visit GIMP
- ZBrush – While primarily known for digital sculpting, ZBrush can also be used for creating detailed sprites and textures.
- Visit ZBrush
Best for Specific Purposes
- TexturePacker – If you’re looking to automate the process of creating sprite sheets, TexturePacker is a great tool that can export your artwork into optimized texture maps.
- Visit TexturePacker
- Shoebox – Another excellent tool for creating sprite sheets, Shoebox allows you to batch process your sprites and optimize them efficiently.
- Visit Shoebox
Tips for Creating Great Sprites
- Start with simple tools like Krita or GIMP to get familiar with the basics of sprite creation.
- Iterate on your designs; it’s okay to make changes and test different styles.
- Consider using reference materials from games you admire to inspire your own sprites.
- Check the official documentation of the tools you use to maximize their potential.
By experimenting with these tools and understanding their unique features, you can find the best fit for your specific project.
Is Aseprite Free?
Aseprite offers both free and paid versions for its pixel art and sprite editing software. While the free version is accessible, it includes limitations compared to the premium option.
Free Version Features:
- Basic pixel art and sprite editing capabilities
- Limited color palette and resolution options
- No advanced features like animation or batch processing
Paid Version Features:
- Unlimited access to all Aseprite features
- Advanced color palettes and resolution support
- Animation frame-by-frame editing
- Batch processing capabilities
- Regular updates and new tools
The paid version operates on a subscription basis, with monthly and annual pricing options available. Aseprite also offers a discounted rate for students and educators.
For more information about pricing plans and features, visit the official Aseprite website at https://www.aseprite.org/ .
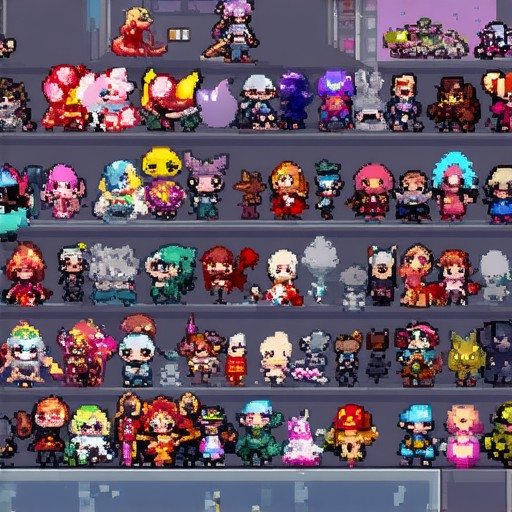
Is Pix Square free?
Yes, Pix Square is free to use. The app offers a robust set of tools for creating pixel art, sprites, and animations without any upfront cost. Here’s a breakdown of its key features:
- Free Download: Available on the App Store for iPad and iPhone.
- Pixel Art Tools: Equipped with essential tools for creating 2D sprites and animations.
- Community Support: Connect with fellow artists and share your creations.
- Regular Updates: The app is frequently updated with new features and improvements.
For more information about Indie Dev Games and their resources, visit our website: Indie Dev Games .


0 Comments